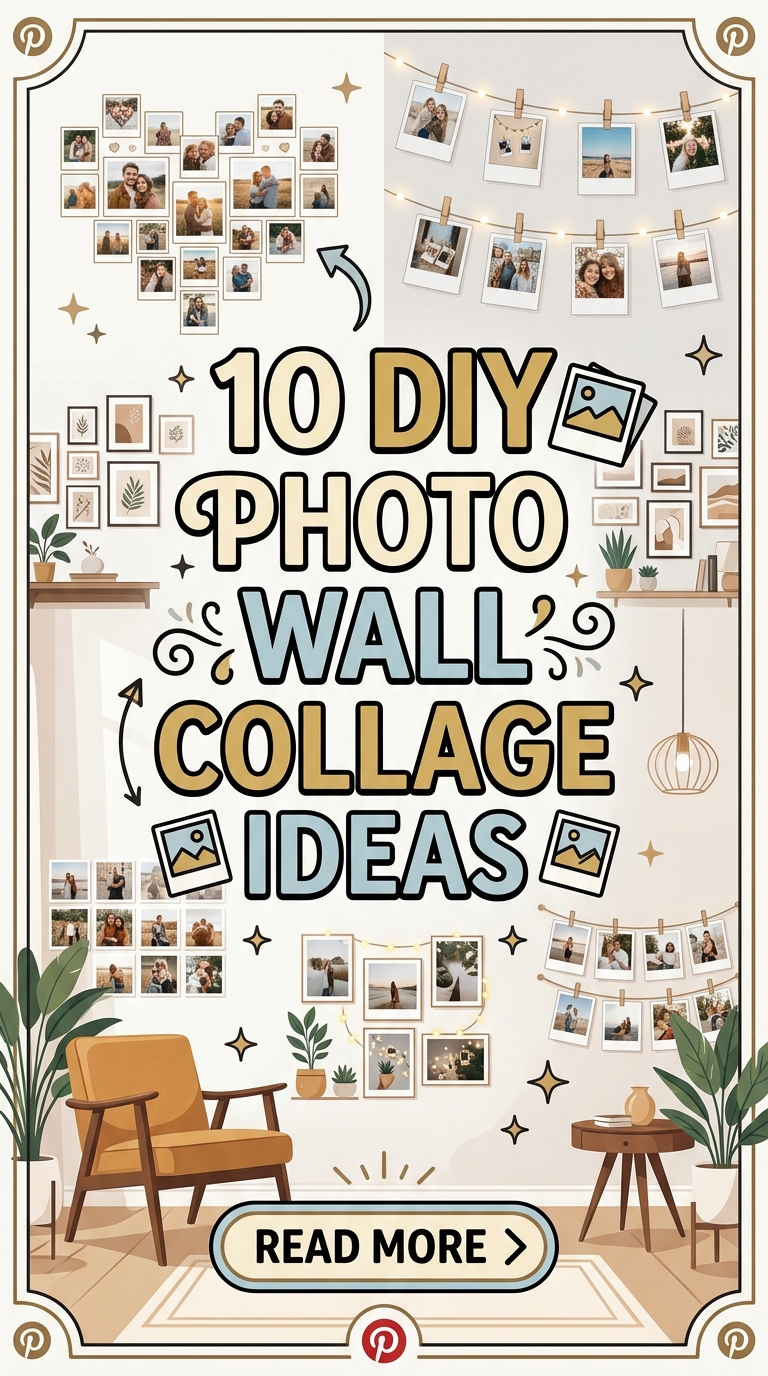
10 DIY Photo Wall Collage Ideas

A DIY photo wall collage is one of the easiest ways to personalize a room while showcasing meaningful memories in a creative and organized way. Instead of storing photographs in albums or digital galleries, a thoughtfully designed collage transforms favorite images into decorative wall art that reflects personal style and everyday experiences. Whether decorating a bedroom, living room, hallway, dorm room, or home office, a handmade photo display adds warmth and character without requiring a large budget. This Pinterest-style guide introduces ten beginner-friendly DIY photo wall collage ideas that combine attractive home decor with practical organization. Each project includes simple instructions, styling recommendations, and preparation tips to help create balanced and visually appealing displays. Every idea focuses on realistic techniques, affordable materials, and modern design principles suitable for homes of every size.
Why DIY Photo Wall Collages Are Trending
DIY photo wall collages continue to rank among the most popular Pinterest ideas because they allow complete creative freedom while adding personality to interior spaces. Many homeowners, students, and renters prefer handmade displays because they can easily customize layouts using favorite photographs, artwork, postcards, or inspirational prints. Most collage tutorials require only basic materials such as frames, tape, clips, or string, making them accessible for beginners. Photo walls also adapt to changing memories since images can be replaced without redesigning the entire arrangement. Their combination of affordability, emotional value, and decorative appeal makes them suitable for minimalist bedrooms, cozy living rooms, modern home offices, and creative studios. This flexibility explains why photo collage projects remain a favorite source of inspiration across Pinterest and home decorating communities.
Materials and Preparation
Preparing materials before beginning helps create a neat and well-balanced collage. Gather printed photographs, picture frames, removable adhesive strips, painter’s tape, ruler, measuring tape, pencil, scissors, string, mini wooden clips, corkboard, wire grid panels, washi tape, decorative paper, command hooks, level, and optional fairy lights. Select photographs with similar color tones or themes to create visual harmony throughout the display. Measure the available wall space carefully before arranging the layout on the floor to test spacing and proportions. Decide whether the collage will follow a symmetrical grid or an organic arrangement based on the room’s decorating style. Organizing all materials before installation reduces mistakes while ensuring the finished project looks polished and professionally planned.
Symmetrical Frame Gallery Wall
How to Create
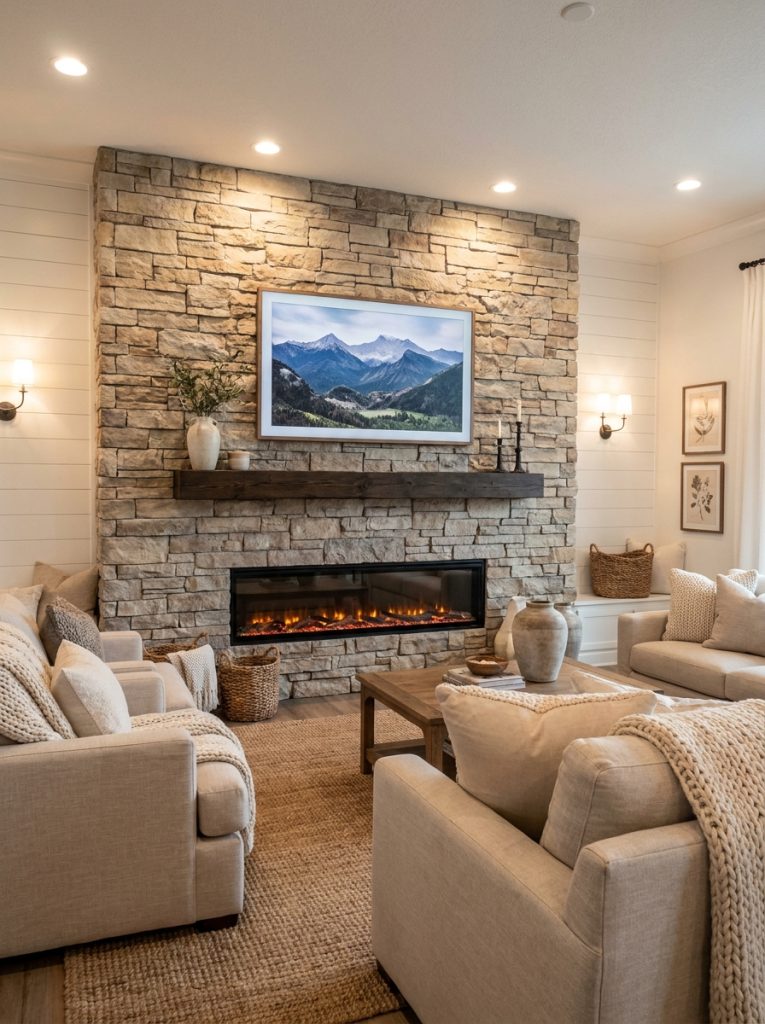
Design a clean gallery wall using matching picture frames arranged in evenly spaced rows and columns. Begin by measuring the wall and marking the center point before laying the frames on the floor to finalize the arrangement. Use paper templates taped temporarily to the wall to confirm spacing before hanging each frame. Choose photographs with coordinated colors or similar editing styles to create a cohesive appearance. Maintain equal distances between every frame for a balanced and organized design. This beginner-friendly project works well above sofas, beds, or hallway consoles while complementing modern design and minimalist style interiors. The structured layout creates an elegant focal point that remains timeless as photographs are updated over time.

Heart-Shaped Photo Display
Step-by-Step Guide
Create a meaningful collage by arranging printed photographs into a large heart shape directly on the wall. Begin by lightly sketching the heart outline using removable painter’s tape as a guide before attaching photographs with removable adhesive. Use similarly sized prints to maintain a consistent appearance while allowing small spacing between each image. Choose photographs that share a common theme, such as family memories, vacations, or celebrations. Position the completed heart above a desk, bed, or reading corner where it becomes the room’s main decorative feature. This easy project combines sentimental value with creative wall decoration suitable for bedrooms and personal spaces.
Wire Grid Photo Organizer
How to Make
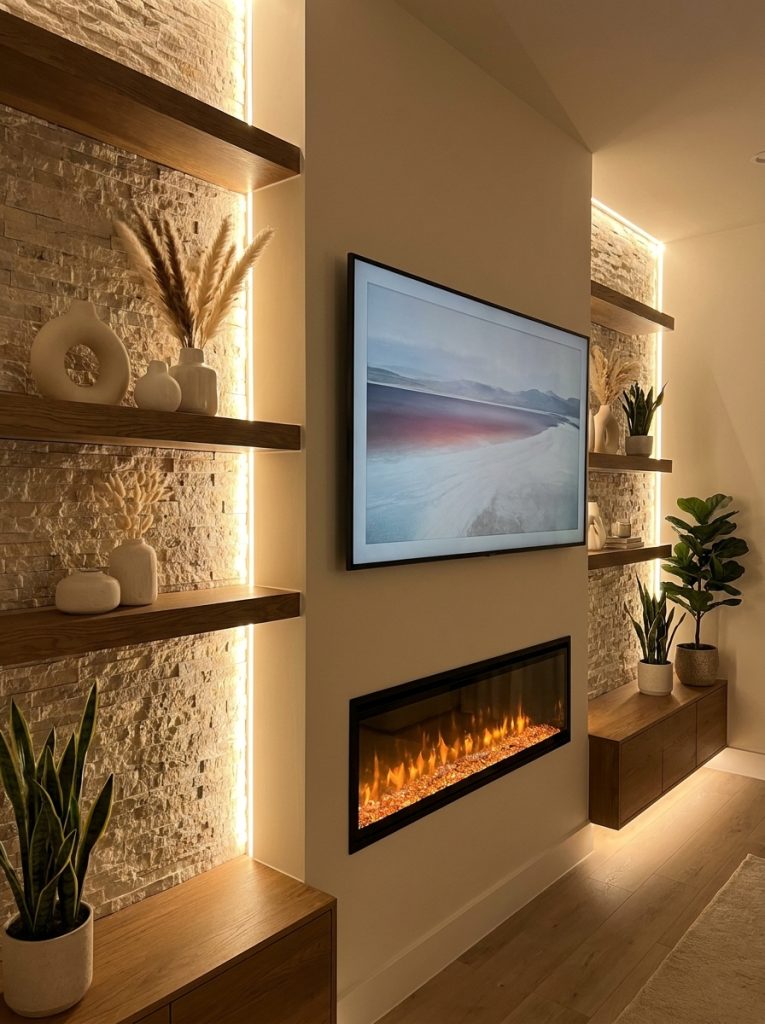
Transform a simple metal wire grid into a versatile photo display that can easily be updated throughout the year. Mount the grid securely using wall hooks before attaching photographs with miniature wooden clips. Add postcards, artwork, dried flowers, or inspirational notes to create visual variety while maintaining balance across the display. Arrange larger photographs toward the center and smaller items around the edges for a pleasing composition. Decorative fairy lights woven gently around the grid introduce soft evening illumination without overwhelming the design. This practical project combines organization with modern home decor while allowing photographs to be changed whenever new memories are created.

Rustic String Photo Wall
Setup Method
Build a cozy photo display using natural twine or cotton string stretched horizontally across the wall. Attach decorative hooks securely before tying multiple parallel rows of string with consistent spacing. Use miniature clothespins to hang photographs evenly while alternating portrait and landscape orientations for visual interest. Add dried flowers, lightweight greenery, or handwritten notes between selected photographs to personalize the arrangement. The natural textures pair beautifully with farmhouse and rustic decorating styles while remaining simple enough for beginners. This handmade project creates an informal yet organized collage suitable for bedrooms, creative studios, or home offices.
Polaroid Corner Collage
Execution Process
Decorate an empty room corner by arranging square instant-style photographs into a cascading collage that wraps gently around two connecting walls. Begin at eye level and gradually expand outward while maintaining consistent spacing between photographs. Organize images by color, season, or event to establish subtle visual patterns. Leave small open areas throughout the design to prevent the collage from appearing overcrowded. Soft LED string lights positioned above the display enhance the photographs during evening hours. This creative project transforms overlooked wall space into an attractive feature while remaining easy to modify as new photographs are added.
Wooden Clip Board Display
How to Create
Create a flexible photo wall using several wooden clipboards mounted in a balanced arrangement. Paint or stain the clipboards in matching finishes before attaching them securely to the wall. Clip photographs directly onto each board, allowing quick replacement without damaging prints. Organize the clipboards into neat rows while leaving equal spacing between each section. Decorative quotes or artwork can be mixed with photographs to create additional visual variety. This beginner-friendly project provides organized storage for favorite memories while introducing natural wood textures that complement contemporary and Scandinavian home decor.

Washi Tape Frame Collage
Step-by-Step Guide
Build a colorful collage without traditional frames by creating decorative borders around photographs using patterned washi tape. Arrange photographs carefully on the floor before transferring the layout to the wall. Apply matching or complementary tape around each photograph to simulate picture frames while maintaining consistent spacing throughout the display. Mix solid colors with subtle patterns for visual interest while avoiding excessive decoration. This easy project is ideal for renters because removable tape minimizes wall damage. Coordinated tape colors help unify the collage while allowing photographs to remain the primary focus.

Floating Shelf Photo Wall
How to Make
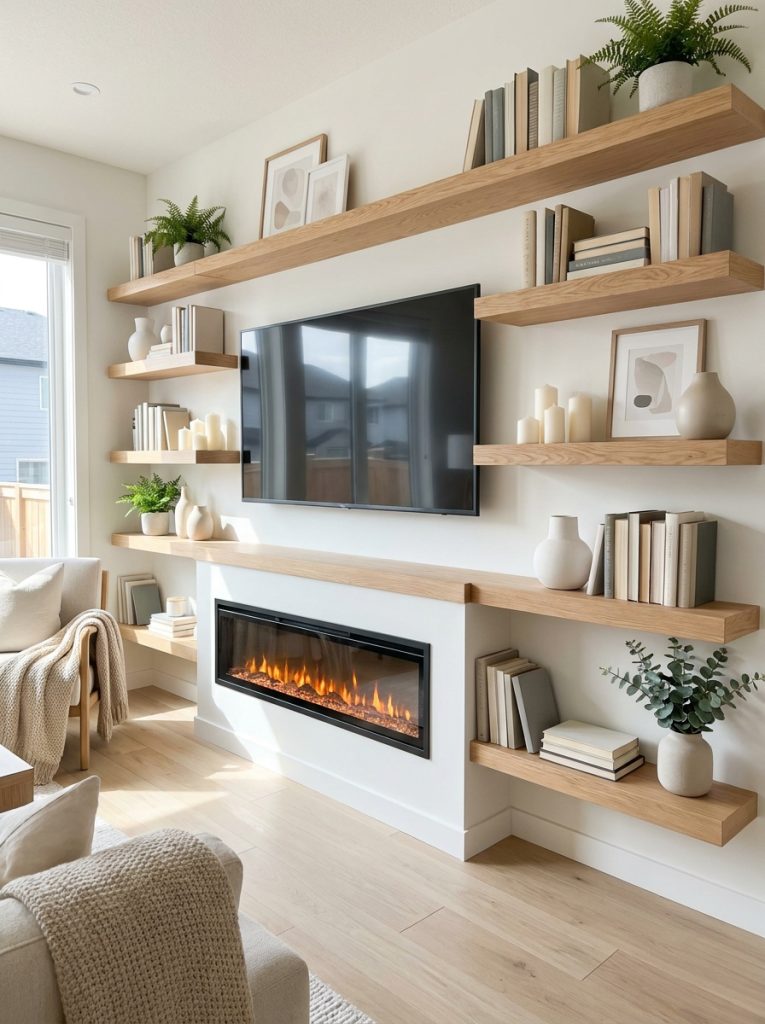
Install narrow floating shelves that support framed photographs without permanently fixing every frame to the wall. Mount sturdy concealed brackets into wall studs before attaching shelves with consistent spacing. Layer photographs of different sizes by placing larger frames toward the back and smaller frames in front. Add candles, ceramic vases, books, or indoor plants between selected frames while maintaining balanced spacing. The arrangement can easily be updated throughout the year by replacing photographs or seasonal decorations. This project combines attractive home decor with practical flexibility suitable for living rooms, bedrooms, and hallways.
Corkboard Memory Wall
Execution Process
Transform a corkboard into an organized memory display featuring photographs, postcards, event tickets, and handwritten notes. Cover the corkboard with neutral fabric before securing it tightly around the edges for a refined appearance. Arrange photographs according to themes such as travel, family, hobbies, or milestones before attaching them with decorative push pins. Leave open sections for future additions to keep the collage evolving naturally. Mount the finished board above a desk or workspace where memories remain visible without occupying valuable shelf space. This practical project combines organization with decorative storytelling in a simple and affordable format.

Minimalist Black and White Photo Wall
How to Create
Create a sophisticated gallery using black-and-white photographs displayed in matching black frames or mounted directly with narrow white borders. Arrange the images into a clean grid while maintaining identical spacing between each piece. Focus on portraits, architectural photography, or landscapes to establish visual consistency throughout the display. Pair the collage with neutral furniture and understated decorative accessories to reinforce the minimalist aesthetic. This elegant project demonstrates how restrained color palettes can create striking wall art while allowing meaningful photographs to become the room’s focal point.
Common Beginner Mistakes and How to Avoid Them
One of the most common mistakes is hanging photographs without first planning the layout. Always arrange the complete design on the floor before attaching anything to the wall. Another frequent issue is inconsistent spacing between photographs or frames, which makes the collage appear disorganized. Measure carefully and use a level to maintain straight alignment. Beginners should also avoid overcrowding the wall with too many photographs because open space improves visual balance. Using removable adhesive products helps make adjustments without damaging walls. Careful preparation consistently produces cleaner and more attractive results.
Practical Tips for Better Results
Select photographs with similar lighting, editing styles, or color palettes to create a cohesive display. Print images in consistent sizes whenever possible to simplify arrangement. Replace faded or outdated photographs periodically to keep the collage fresh and relevant. Dust frames, shelves, and decorative accessories regularly to maintain a clean appearance. Photograph the completed layout before making seasonal changes so successful arrangements can be recreated easily. Simple maintenance helps preserve both the photographs and the overall presentation.
Styling, Presentation, and Organization Ideas
Pair photo collages with floating shelves, indoor plants, mirrors, or subtle wall lighting to create layered decorative displays. Neutral wall colors allow photographs to stand out while preventing visual competition. Mix framed images with artwork, quotes, or botanical prints only when they complement the overall theme. Leave generous spacing around the collage so it remains the room’s primary focal point. Balanced styling enhances the display without distracting attention from the photographs themselves.
Budget and Time Planning
DIY photo wall collage projects remain affordable because they rely on inexpensive materials such as printed photographs, tape, string, or basic frames. Begin with a small arrangement before expanding the display over time as new memories are collected. Purchasing matching frames in sets often reduces overall costs while creating a more cohesive appearance. Divide the project into planning, printing, layout testing, installation, and styling stages to improve accuracy and minimize unnecessary adjustments. Organized planning produces professional-looking results while staying within a modest decorating budget.
Creative Expansion and Advanced Inspiration
After completing these beginner-friendly DIY photo wall collage ideas, experiment with larger gallery walls that combine photographs, mirrors, floating shelves, typography, and decorative lighting. Seasonal displays can be refreshed by replacing selected photographs while maintaining the same overall layout. Mix travel photography, family portraits, artwork, and meaningful keepsakes to create personalized wall installations that tell unique stories. Save layout measurements and spacing guides for future updates so the display remains balanced as it grows. Continued creativity transforms ordinary photographs into timeless home decor that combines organization, aesthetic appeal, and lasting personal value.